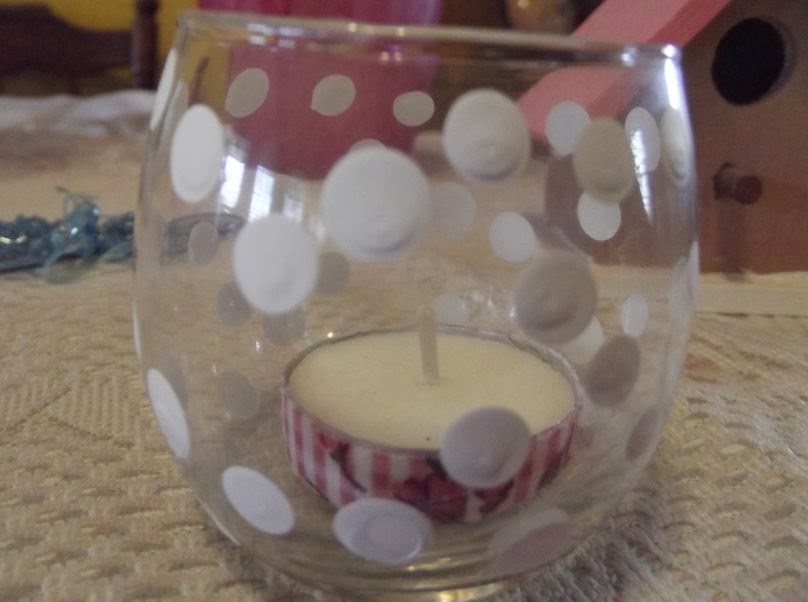
Polka Dot Tealight Jars
Spring is coming, and so is the craft show I've signed up for!!!
No big deal, I'm nearly finished with all of my DIY crafts. I displayed all of my crafts and decor on our dining room table last night- and it looked awesome! Praying for a good turn-out on that day and a lot of people buy up my crafty stuffs....
So, I thought I'd share some of the crafts that I'll be selling at the show- along with a tutorial for each- so you can learn how to make it yourself too!
Verrrrry simple!
1. Buy a glass votive or tea light jar (obviously)
2. Put your hand inside to move it in around without touching the paint.
3. Using a rounded instrument (I used a pencil eraser), stamp white dots around the glass.
4. Be sure not to dab it on too thick, or it will begin to drip down as it dries - which is what mine did, and I had to do it all over again. >:(
5. After it has dried, put in a tealight. I carefully wrapped a thin piece of cloth around the bottom half of the tealight (which is where that little silver base is), careful not to get the edge of the fabric close to the wax, so it wouldn't catch on fire when it was lit!
 Once you're done with those 5 steps, that will be it! I made 3 more after that one, and it only took me about 10 minutes to dot them all! Drying time, of course, took a little while, but once they had finished, they were so so so cute! ~And they also look great on a shelf or mantle all decked out for spring!
Thanks for reading!
No big deal, I'm nearly finished with all of my DIY crafts. I displayed all of my crafts and decor on our dining room table last night- and it looked awesome! Praying for a good turn-out on that day and a lot of people buy up my crafty stuffs....
So, I thought I'd share some of the crafts that I'll be selling at the show- along with a tutorial for each- so you can learn how to make it yourself too!
Verrrrry simple!
1. Buy a glass votive or tea light jar (obviously)
2. Put your hand inside to move it in around without touching the paint.
3. Using a rounded instrument (I used a pencil eraser), stamp white dots around the glass.
4. Be sure not to dab it on too thick, or it will begin to drip down as it dries - which is what mine did, and I had to do it all over again. >:(
5. After it has dried, put in a tealight. I carefully wrapped a thin piece of cloth around the bottom half of the tealight (which is where that little silver base is), careful not to get the edge of the fabric close to the wax, so it wouldn't catch on fire when it was lit!
Thanks for reading!

Comments
Post a Comment